Help CenterTransactions
Transactions
Learn more about Savi's Transactions tab
Overview
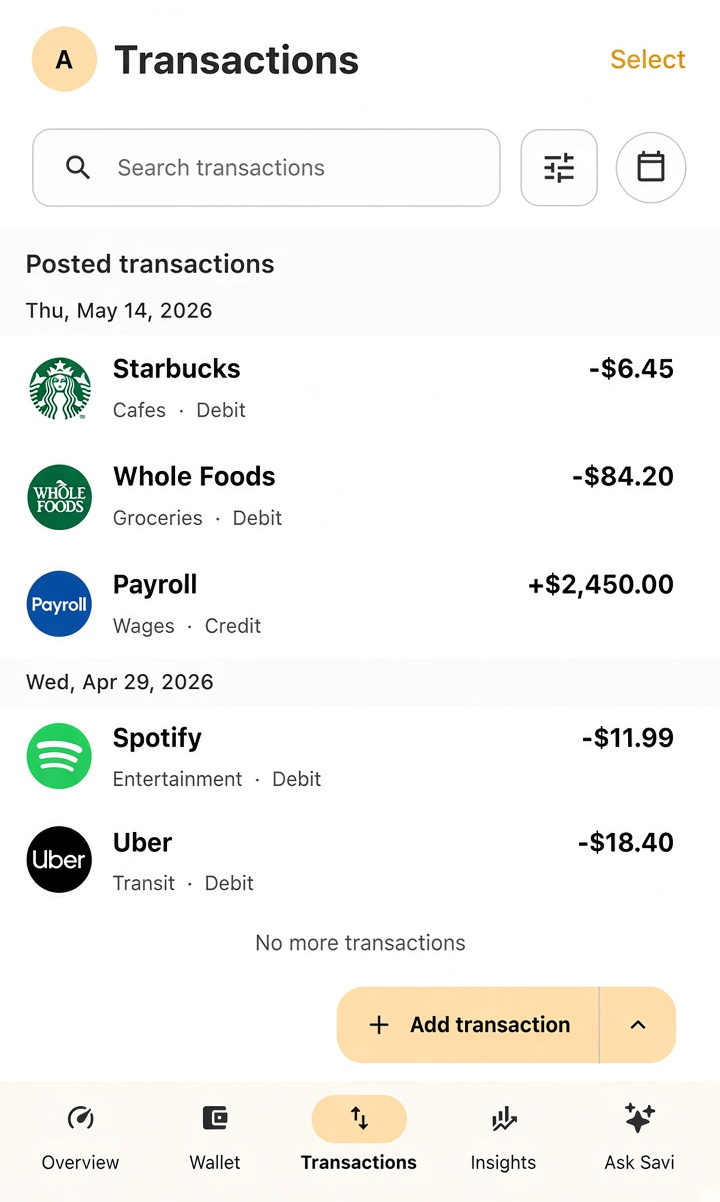
Where to find it: tap Transactions in the bottom navigation bar.
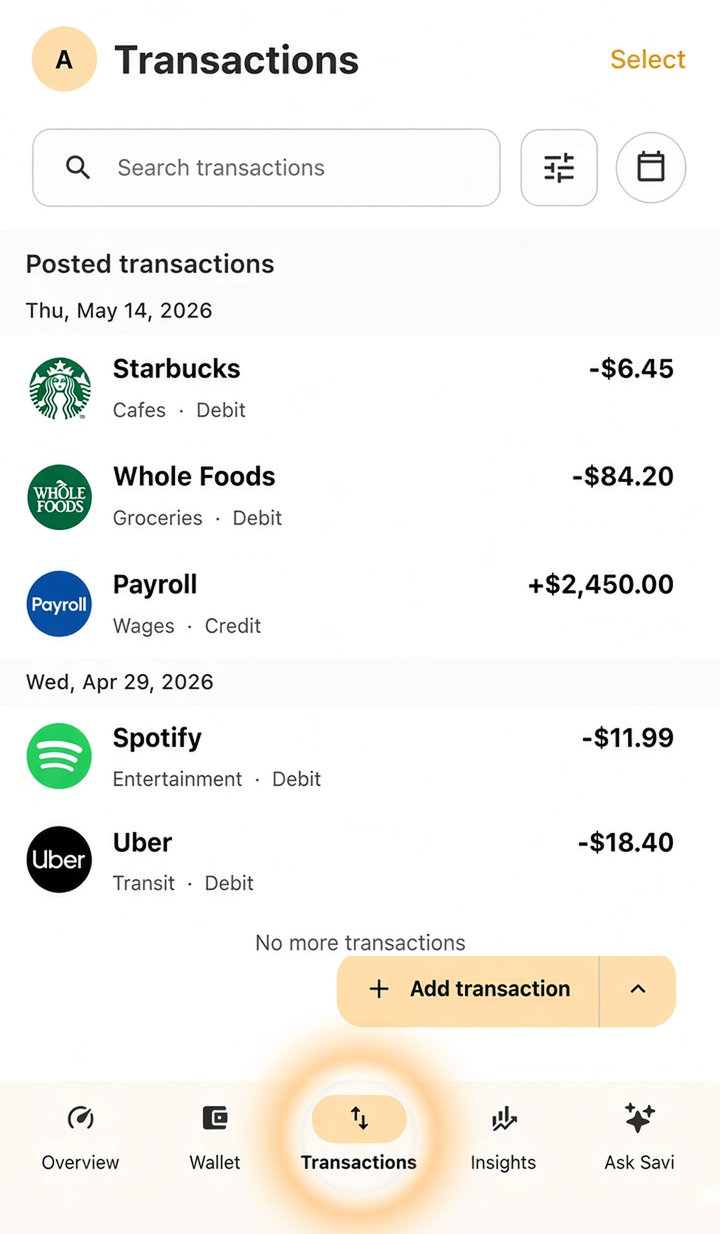
Search & Filter
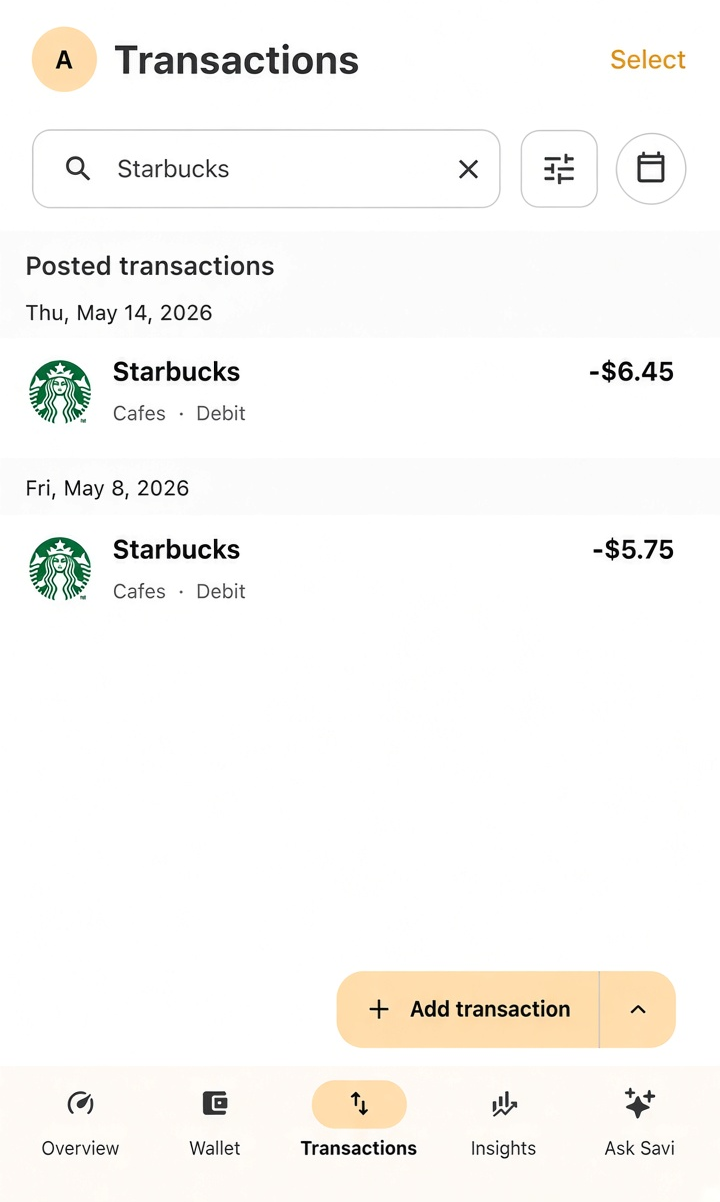
You can search for a transaction by typing its name into the Search transactions bar.
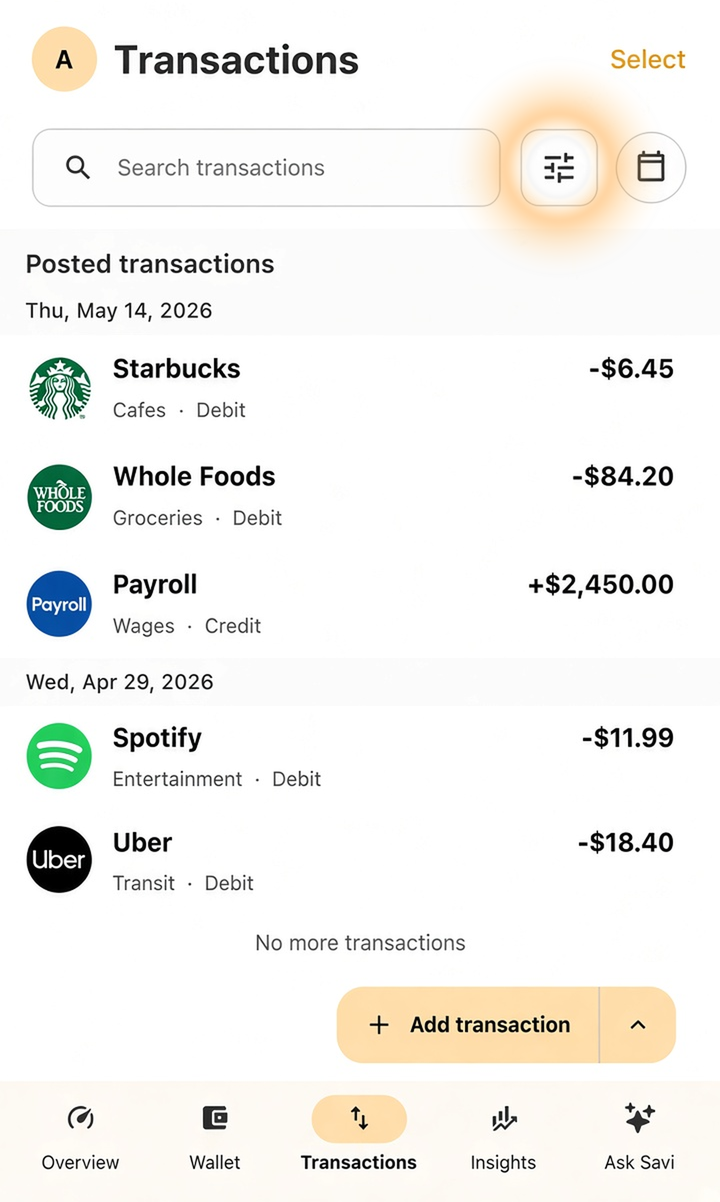
You can also filter transactions. Tap the filter icon next to the search bar to open Filter Transactions.
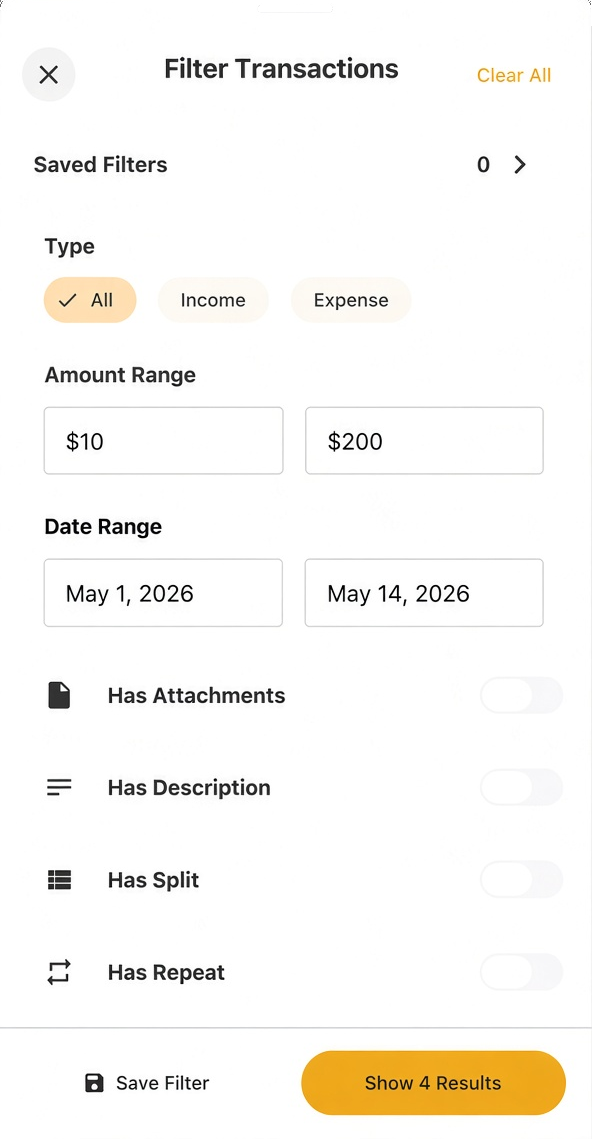
You can filter by:
- Type — All, Income, or Expense
- Amount Range — Min Amount, Max Amount
- Date Range — Start Date, End Date
- Has Attachments
- Has Description
- Has Split
- Has Repeat
Tap Save Filter to reuse a filter later. Saved filters appear under Saved Filters at the top of this screen. Tap Clear All to remove every filter, or Show [X] Results to apply them.
Calendar View
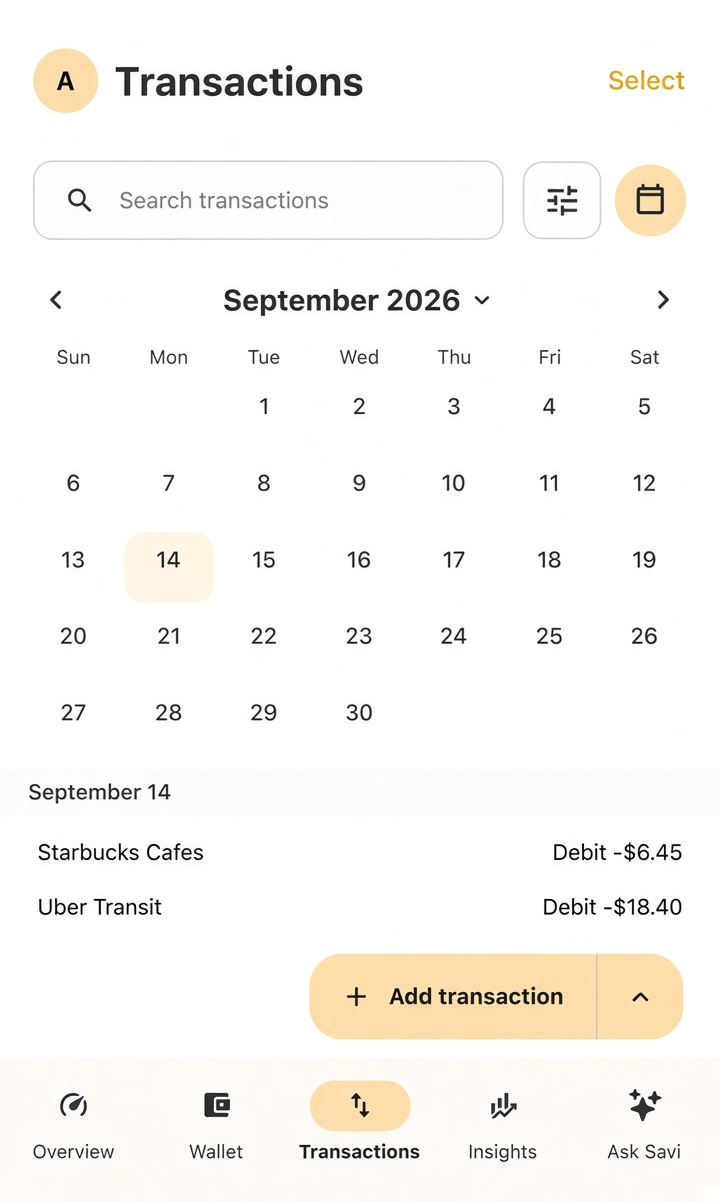
Tap the calendar icon next to the filter icon to switch to a month view. Tap any date to see that day's transactions.
Add a Transaction
Tap + Add transaction at the bottom of the screen. Tap the arrow beside it to add an invoice or time log instead.
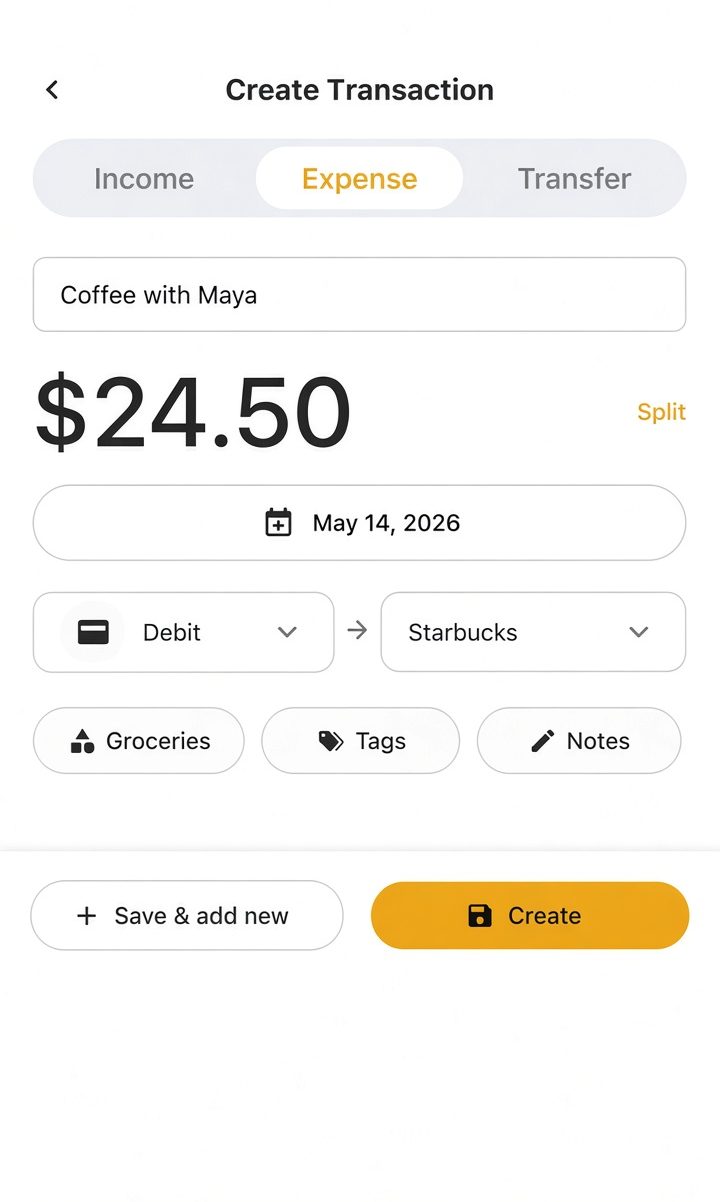
On the create screen:
- Choose Income, Expense, or Transfer.
- Enter a name and amount.
- Tap Split if the transaction covers more than one category.
- Tap Select Date to set the date.
- Choose an account and, if needed, a vendor.
- Add a Category, Tags, or Notes if you want.
- Tap Create to save, or Save & add new to save and start another.
You can also tap a date on the calendar view, then tap Add transaction, to log an entry for that day.